Removing your LED strips for transfer or planning to repurpose them for a DIY project? This article will serve as your guide on how to remove LED strip lights and when it’s time to replace or throw your LED strips away.
Contents
Three Easy Steps on How to Remove LED Strip Lights
There are many great ways to use LED strips for stunning light effects in your home. LED strip lights are easy to install, but sometimes you want to remove them later on.
Unlike usual lighting solutions that require a permanent fixture, you can readily remove your LED strips whenever you like. The best part? You can reuse them whenever you want as long as they’re functioning properly.
Here are quick and easy steps that you can follow to safely remove your LED strips.
Step 1: Disconnect Your LED Strip From the Power Source
Safety always comes first. Unplug your LED strip from the power source and ensure you work with dry hands.
One of the advantages of LED strips is their low voltage output and getting a shock is very unlikely, working with LED strips that are still connected to power may damage their circuitry.
Step 2: Remove Mounting Devices and Old Adhesive
Remove any mounting brackets, screws, or staples before peeling the LED strip off.
If you’re using a mounting channel, it’s better to remove the LED strip off the track first and proceed with removing the mounting channel off the wall.
Some adhesives can be stubborn. Use a hair dryer to soften the adhesive underneath with heat.
Be careful not to use the hair dryer for longer than one minute. You might end up damaging your LEDs and the circuitry.
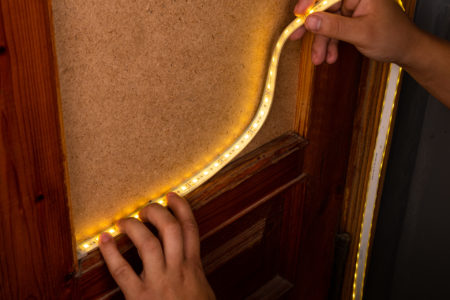
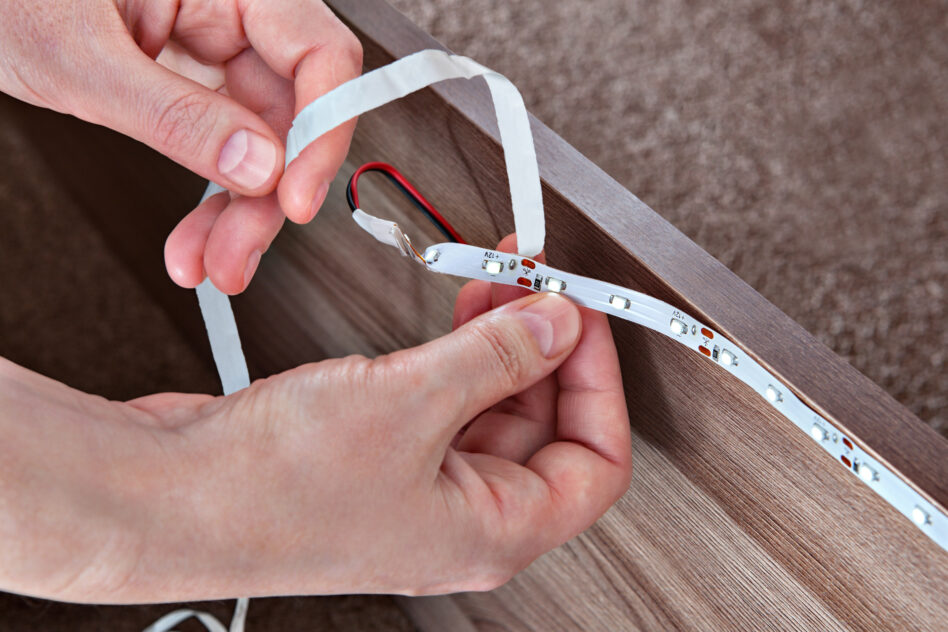
Step 3: Carefully Peel the LED Strip
Use a thin tool (a coin, card, or dull knife) to help loosen the strip. Start at one end and carefully peel from the corner of the LED strip.
As much as possible, avoid starting in the middle because doing so could damage the paint on your walls.
With steady pressure, gently pull the strip off the surface. This is also to avoid peeling the paint off the wall.
Speed is not a requirement in this process, so take your time and peel the LED strip away carefully.
How to Reuse Your LED Strip Lights
Now that you have successfully removed your LED strips, you might think about resticking them someplace new.
Reusing your LED strips is almost the same as installing them the first time. Follow these steps:
Step 1: Remove Adhesive Remnants
Gently scrape the dry adhesive residue off using a blunt knife or any similar object and be careful not to damage your LED strip.
If the old adhesive is too sticky, dampen a microfiber cloth with acetone or alcohol-based solution and gently rub the adhesive remnants off.
Step 2: Apply Brand-new Adhesive
The original backing adhesive gets damaged and loses its sticking ability after removing it from the previous location.
You can replace it with fresh double-sided tape and it’ll be as good as new.
Peel the protective film off and stick the adhesive to the back of the LED strip.
You may also use other mounting tools like putties, staples, cable ties, and mounting brackets.
When choosing the suitable adhesive or mounting option, consider the texture of the surface where you plan to mount your LED strips.
If you’re planning to reapply your LED strips to a painted wall, opt for an adhesive that won’t ruin the paint upon removal.
Step 3: Clean the Surface
Any dirt, grease, dust, or moisture will prevent your LED strip from sticking properly.
Use a cleaning brush, cloth, soap and water, or other cleaning solutions to clean dust and dirt off your wall or furniture.
Completely dry the surface before mounting the LED strip.
Step 4: Mount the LED Strip to the Desired Location
Position your LED strip in the desired area. If you’re using an adhesive, press it firmly onto the wall or surface to remove air bubbles.
Test if your LED strip is working correctly after completing this step. In addition, make sure that you connect to the proper power supply and meet the voltage requirements to prevent overheating and damage.
How to Properly Store Your LED Strip Lights
You should consider several methods if you’re planning to put your LED strips away.
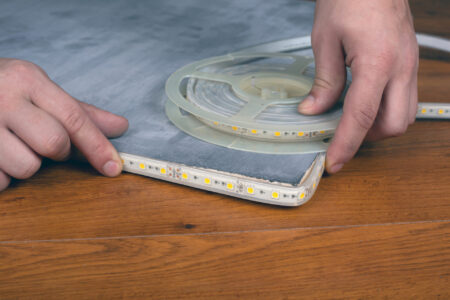
First, you can roll them and just put them back in their original packaging. Secure your LED strip with a tie or wire to prevent them from unraveling.
You may also wrap your LED strips in a spool. Be careful not to fold or bend your LED strips upon storage.
Put your LED strips in a properly labeled storage bin or box. That way, you can quickly identify them for next use.
However, pay attention not to store your LED strips in a cramped space with other objects, especially sharp items or chemicals that can potentially damage the lights.
When it comes to where you should keep your LED lights, store them in a room where they can be safe from moisture and extreme temperatures.
Signs That You Need to Replace or Throw Your LED Strips Away
LED strips have a lifespan that could last up to 50,000 hours. The time will come when your LED strips become too old and defective to function, and your last resort is to toss them out.
Before doing so, you need to make sure that your LED strips are entirely dysfunctional and beyond repair.
Sometimes, wrong installation, incompatible voltage connection, faulty wiring, incomplete soldering, improperly cut or loose sections, and circuit problems can cause your LED strips to misbehave.
Properly troubleshoot your LED strip and narrow down every possible reason for the malfunction.
Considering the factors mentioned above, you may stop using your LED strips when:
- They’re constantly overheating, accompanied by a burning smell.
- Parts of the strip are burnt or scorched.
- LEDs are glinting and starting to dim.
- LEDs aren’t turning on.
- LED strips are showing signs of deterioration, with some parts already corroding.