LED strip lights are popular because of their versatility, the elegant vibes they create, and their easy installation. Still, fixing them to the ceiling may not be as simple. So, here’s our complete guide on how to install LED strip lights on the ceiling.
Contents
- Measure Your Ceiling Perimeter
- Choose the Right LED Strip Color
- Cut the Strip Lights to Your Desired Length
- Clean the Ceiling Surface
- Peel the Adhesive and Put on the Strips
- Consider Other Mounting Methods for More Durability
- Connect the Strip Lights to the Power Supply
- Control and Play With the Lights That You Installed
Measure Your Ceiling Perimeter
The first thing to do is to plan out how you’re going to install the light strips for amazing effects. Start by measuring the area of the ceiling where you’d like to put the lights with a measuring tape. That way, you’ll know how long of a lighting strip you’ll need to buy.
To be safe, buy strips with extra lengths for tight corners, irregular spots, and borders of your ceiling. Then, calculate the distance between your LED strips and your power source.
Choose the Right LED Strip Color
You can play with a variety of colors for your LED strip lights. Colored lights set the tone and feel of your place if you choose the correct color pattern.
Here’s a guide to various LED strip light colors and where to use them.
Pure White Color
The pure white color is ideal for your ceiling in the kitchen or home office. These areas need to be well illuminated because they’re where you need to focus on your tasks, and white light is proven to improve concentration and productivity.
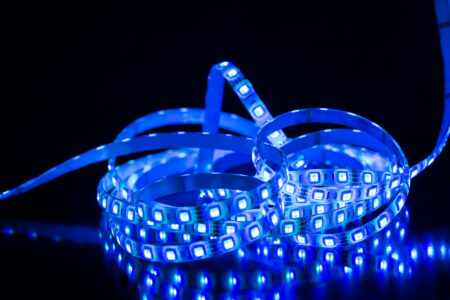
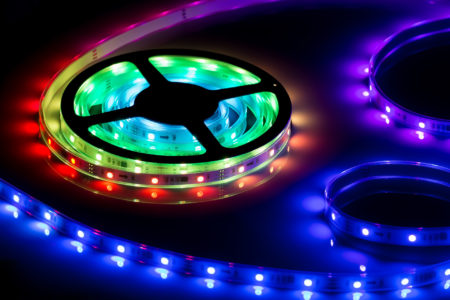
RGB
RGB stands for a combination of red, green, and blue LED lights. RGB LED lights have incredible capacity and flexibility in creating lighting designs on your ceiling.
You can also customize the RGB LED lights to create the lighting ambiance that you like. They will look good on your bedroom ceiling.
RGBW
This is the most common color and a popular choice for LED strip lights. It uses a four-in-one LED chip with colors red, green, blue, and white (RGBW).
Because of the addition of white light, RGBW LED light will give you a wider variety of diverse color hues. It’s also perfect for light color mixing that will give life to your living room or bedroom ceiling.
Warm White Color
This color looks like a fluorescent light that creates old-school home vibes. It’s ideal to use for your bedroom ceiling, hallways, and living room.
Single Color
For single colors, LED strips are available in red, green, amber, or blue. These colors are ideal to use for your bedroom or game room ceiling for some cool arcade-like effects.
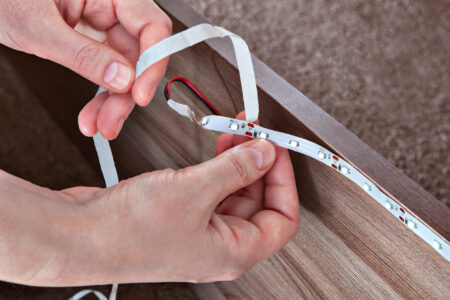
Cut the Strip Lights to Your Desired Length
After choosing the light colors, make some adjustments to the length of the LED strip reels. LED strips have designated cutting points to guide you on where to cut the strip reel whenever necessary.
You may cut the LED strips according to your light placement plan for easy installation.
Clean the Ceiling Surface
Before installing the strip lights, make sure that your ceiling surface is clean and dry. A wet or moist surface will easily wear off the LED strip’s adhesive.
Take note as well that the area where you’ll place your LED strips must be well-ventilated and not pressed behind your curtains or furniture. This is to avoid the accumulation of moisture, which may cause mold.
A flat and smooth ceiling surface is a must, too, to boost the adhesive’s integrity.
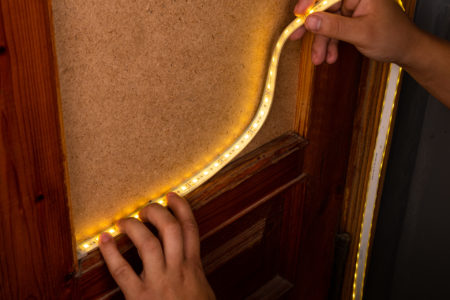
Peel the Adhesive and Put on the Strips
LED strip lights are designed with adhesive at the back. So, carefully peel it off and stick the strips on your desired areas on the ceiling.
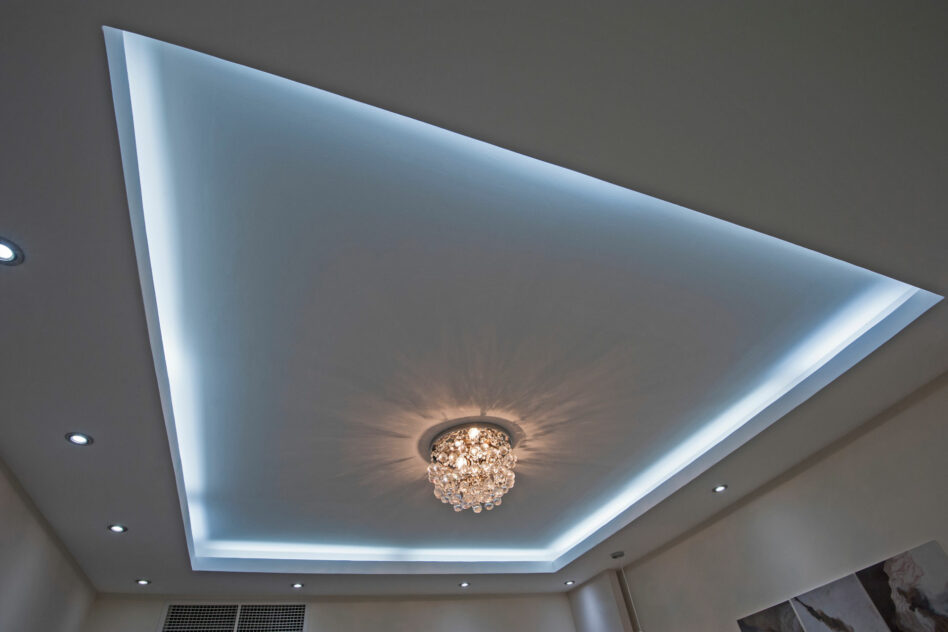
For a more stylish interior look, you may want to fix the LED strips to the ceiling edges, especially if you have a drop-down ceiling.
Hidden strip lights will give you an impressive lighting effect, too!
Consider Other Mounting Methods for More Durability
The built-in adhesive on the back of the LED strip lights might degrade with time and not stick as firmly as it used to.
To prevent your LED light strips from falling off, we’ve gathered some alternative mounting solutions for you to consider instead.
Using LED Strip Fixing Clips
To ensure that your LED strip lights won’t fall off from your ceiling, use fixing clips. You will have to use a screw for installation here. The screws must be mounted at a one-foot distance per screw.
The good news here is that the clips won’t give way unless you remove them yourself. They’re great for any strip position, particularly for downward fixing.
Using Strong Double-Sided Tape
To aid the strip adhesives, you can use strong double-sided tape when installing the LED reels on your ceiling. Take note that this is only applicable to smooth ceilings.
Also, it’s best to use strong tape if you’re going to install the lights in areas with poor air circulation.
Using Foam Backing Tape
Foam backing tape is a bit heavier and stickier than regular double-sided tape. It’s the right mounting method to use if your ceiling has irregular surfaces.
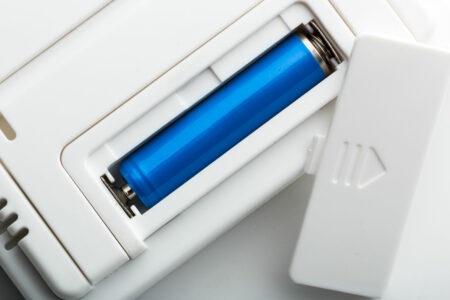
Connect the Strip Lights to the Power Supply
After sticking the LED strips on the ceiling, it’s time to test their function.
When connecting the LED strip lights to the power supply, you will need accessories such as a well-suited driver and matching LED connector wire.
Using a power converter will also extend the lifespan of your lights and protect your electrical system.
Control and Play With the Lights That You Installed
Finally, you’ll be able to play with the LED strip lights’ colors through a controller or an app installed on your phone or tablet.
You can purchase an on/off controller that’s compatible with your LED strip lights. Try to set the lights to bright light or set them on a dimmed light using the controller.
You may also want to wire a motion sensor to your ceiling light as another fun feature.
Enjoy looking up at the view!