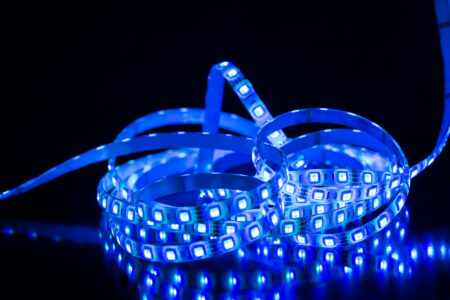
LED lights came into our lives, and… well, they lit them up! From our living rooms to our bedrooms, everything has its own ambiance now. However, it can get tricky to make them stick in place after a while. Read on to find out, how to make your LED strips stick.
Contents
How to Keep LED Light Strips in Place
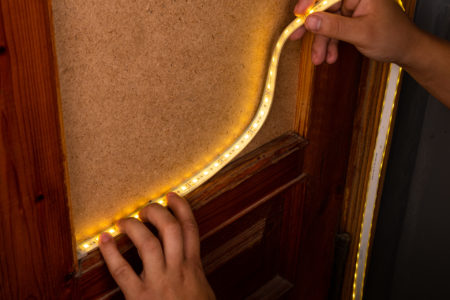
LED strip lights look great in many places. But sometimes they can be a bit resistive. If you’ve been having trouble with your strip lights staying in place, then you’re not alone! Thankfully though, there are numerous ways to get them to stay in place with just a little bit of adhesion.
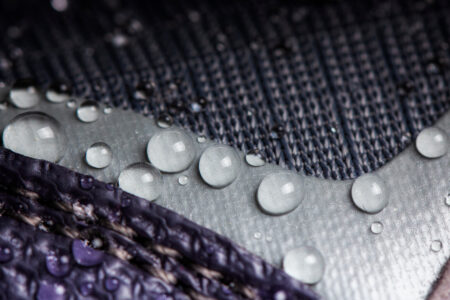
However, before we get into the details, there’s one thing you’ll need to keep in mind. Always make sure that the surface upon which you’ll be placing the lights is clean and dry.
If it isn’t, you’ll need to wipe it down with a soft cloth dipped in rubbing alcohol—or a similar cleaning solution— and wait for it to dry before proceeding.
This way, you’ll guarantee that the strips will stick better and won’t fall off of whatever surface you place them on.
Now that we’ve covered that, here are some of the most popular things you can use to make your LED lights stick:
Glue Gun
A hot glue gun is exactly what it sounds like exactly: a gun-shaped tool that shoots hot glue out of the barrel when you press the trigger!
To use it, you’ll need to first cut the LED strip into the length you want. Then, take the hot glue gun and apply the glue evenly across the backside of the strip light.
You don’t have to cover the entire strip with glue—just apply it evenly so it won’t sag.
Once you’ve done this, place the LED strip light on whatever surface you’d like it to stick to–be sure to avoid touching the glue yourself, as it could be incredibly hot!
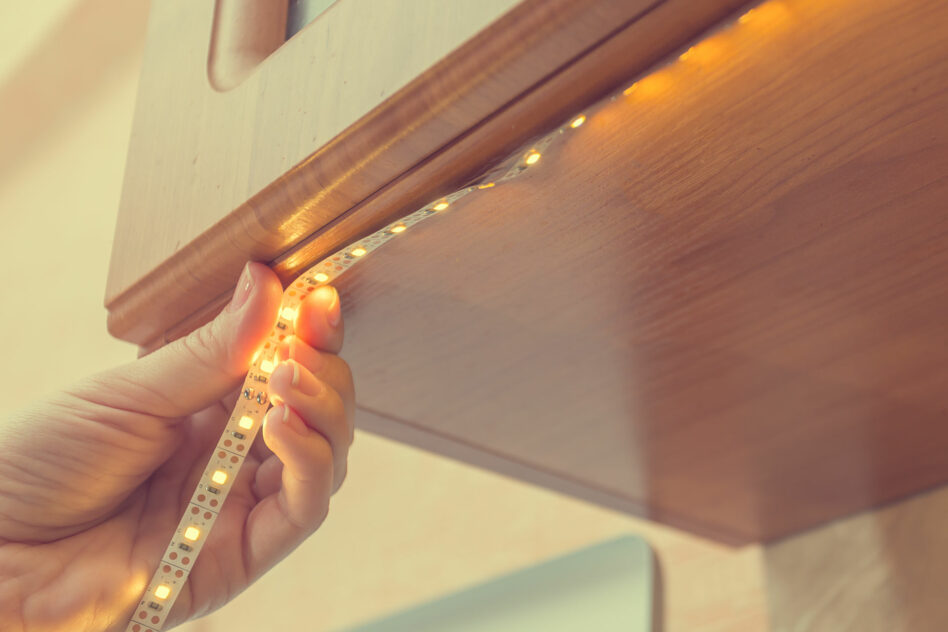
Double-Sided Tape
Double-sided tape is one of the easiest ways to keep your LED strip lights in place. It’s affordable, easy to use, and you can find it at any hardware store!
All you need to do is cut the double-sided tape into small pieces and stick them onto the back of your LED lights. Make sure there are no gaps between the tape and the strip.
After that, remove the layer on the other side of the tape and carefully stick them into place. Because this is essentially tape, it can easily pick up lint and dust, so you’ll need to be extra thorough when cleaning.
Spray Adhesive
You’ve definitely heard of regular tape and double-sided tape, but have you heard of spray adhesives? If you haven’t, we’re not surprised! They’re not as famous as other kinds of adhesives, but they’re super easy to use.
All you have to do is hold the spray bottle properly, spray the adhesive matter on the object, and then press it against your desired surface.
If you’d like our recommendation, spray adhesives like 3M are an excellent choice for this type of project because they’re strong and can hold your light strip in place.
Double-Sided Velcro Tape
Finally, we have another kind of tape, but this time it’s more durable and flexible. Double-sided velcro is an excellent, reusable option to secure your LED lights in place!
It works by attaching one piece of the velcro tape to the back of your LED strip and then placing the other one on the desired surface.
After that, you can attach the two parts together and remove them whenever you want without ruining the velcro. As a result, you can adjust the tape and reuse it however you like.
How to Stick LED Strip Lights Without Glue or Tape
One thing that all the previous options had in common was that they used a form of adhesion to get your LED lights to stick in place.
However, some homeowners don’t like using glue on their walls because it can get messy. So, if you’re one of them, here are a couple of different options:
Stapler
From binding sheets together to sticking posters on walls, staplers are the swiss army knife of office supplies!
If you have one lying around, you can certainly use it to pin your LED lights. However, there are some things that you’ll need to keep in mind. First, the staples must be big enough to form an arch around the strip lights.
Otherwise, they can go through the circuits and potentially ruin your lights.
Moreover, the pins will surely leave small marks all around your walls or whatever surface you’re applying the light strip to. Thankfully, this is easily fixable with paint, but it’s definitely something to keep in mind before going forward with this option.
Mounting Clips
Mounting clips are the handiest way to attach your LED strip lights to any surface, even when dealing with bumpy walls or uneven surfaces.
This is because they provide a simple way to secure the light strip into place without depending on glue—just like the staples.
Unfortunately, compared to the different options on our list, installing the mounting clips can be a little tricky. You’ll need a few screws, a drill, and a pair of protective eye goggles to keep your eyes safe!
After you’ve gathered your tools, the process is relatively straightforward. You’ll need to:
- Place the mounting clips on the surface you want
- Insert the screws into the hole in the clips and then use the drill to screw them in place
- Lastly, press the LED strip inside the mounting clip
Also, you should place the clips no further than 12 inches apart, or you may end up with floppy lights.
Apparently, putty isn’t just a toy for kids to enjoy making shapes with and sticking them on things!
There’s a special kind of putty called Sugru, which is a type of mounting putty that’s designed specifically to help you repair and mount stuff.
This is an excellent alternative to staples or glue because it doesn’t leave any marks or residue behind! All you need to do is cut the putty into small pieces and stick those pieces to the back of the LED strip.
After that, move the light strip to where you want to place it and firmly press until you’re sure it’s stuck in place. Of course, don’t forget to put enough pieces throughout the back of the strip so it won’t fall off.