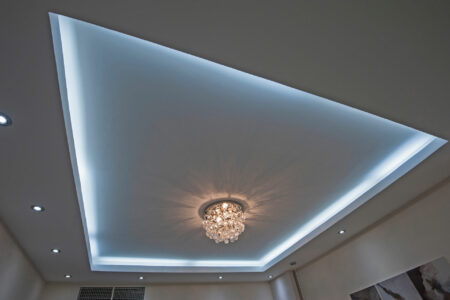
Installing LED lights on any surface can add a stylish and modern touch to any space. The problem is that installing those illuminating devices on non-flat surfaces and corners can be tricky. Continue reading this article to learn about how to install LED strip lights around corners!
Contents
Step 1: Take Measurements
Taking a rough estimate of the strip light length you need can save you the frustration of not having enough LED strips for your project. And the process is pretty simple.
All you need to do is get a measuring tape and measure the length and width of your room. If your room has no alcoves or protruding surfaces, that’s great news! Just add both measurements and double the total to get your room’s perimeter.
For non-flat surfaces, you’ll have to measure the length of every wall to get an accurate perimeter.
Repeat the above process for each spot you plan to decorate with LED strips. Then, note down the numbers. The former step saves effort when cutting the strip lights later for each corner.
Step 2: Gather the Necessary Tools
While installing LED strips seems like a simple task, you still need a couple of tools. Those include:
- LED strips
- Connectors
- Sharp scissors
Let’s discuss each one in further detail!
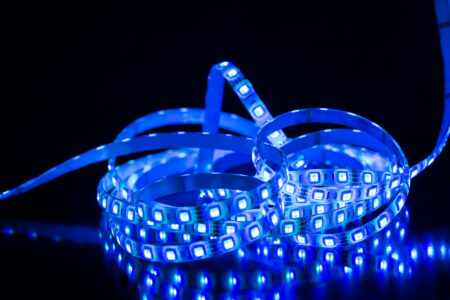
LED Strips
You’ll want to avoid buying low-quality strip lights. That’s because they produce bad lighting and get damaged easily with the slightest bending. So, how do you tell the quality of strip lights?
Here are a few things to consider to help you identify good LED strips:
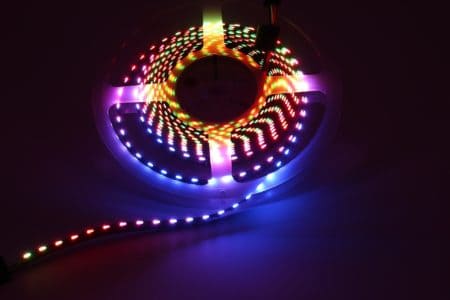
High LED Density
Ideally, you’ll want to pick strip lights with a high LED density of around 36 LED per foot, and all for good reasons. The higher the density, the more it distributes the lighting evenly.
So, you won’t notice any visible dark spots between the light emitters. Not only does the former problem produce inefficient lighting, but it can also take away from the aesthetics.
Thick LED Strips
Generally, the thicker the strip’s PCB, the circuit that connects the LED emitters, the more copper it has. As a result, the strip light becomes rigid and straight. What’s more, thick PCB also conducts electricity better because it produces low resistance.
LED Chip Quality
Not all LED chips are alike, even if they look the same. The quality of the phosphorus used to make the LED emitters affects their performance. The more pure the phosphorus, the better the brightness will be.
Connectors (Optional)
Strip connectors can be handy for designing strip lights that fit non-flat surfaces. You can use connector clips to join two LED strips to lengthen them. For corners, you can use L or T-shaped connectors and two connector clips to join the LED strips.
Additionally, having flexible strip-to-strip extensions on hand makes connecting the stripes over uneven walls a lot easier.
Step 3: Clean the Surfaces
Most LED strips have an adhesive backing for faster and easier installation. While that provides convenience, you’ll have to ensure the surface is as clean as a pin for the strip to adhere well.
For an effective clean, make a solution of equal parts lukewarm water and vinegar. Then, wipe the areas using a clean cloth.
You might need to use strong detergents like trisodium phosphate to clean greasy spots in kitchens. For cabinets, you can use wood cleaners.
One thing to keep in mind is to let the surface dry completely before installing the LED light strips.
It’s worth mentioning that you can only use those light strips on smooth surfaces. So, they might not be a good fit if you plan to install them in a textured area.
Step 4: Prepare the LED Strips
This step is where all the tricky work begins. You can install LED strips using two methods: bending or using the connectors. The former technique doesn’t require any tools other than the LED strips, so it might save you a couple of bucks.
Still, folding doesn’t work for all strip lights. That’s especially true for the low-quality ones. Once you bend those strips, you might notice a few LED emitters before and after the fold not working.
On the other hand, using connectors and clips provides more flexibility, as they work on most LED strips. Plus, they’re more visually appealing than folding.
Here’s how to install the lights using each method:
The Bending Method
- Place the measuring tape on the area where you’ll install it to mark where you need to make the fold.
- Make sure to choose a spot that doesn’t contain soldering, diodes, or resistors.
- Fold the strip to make a 45º angle. Make the bend in the opposite direction of the corner you need to round.
- Bend the strip back on itself to make a pleat.
- Press firmly on the crease to secure it.
A couple of tips to keep in mind here:
- Remove any light chips in the fold. You can use soldering or a knife to take them off.
- Always test this technique on a smaller strip to see whether it’ll work for the entire roll. That’ll save you the cost of damaging longer LED light strips.
The Cut and Connect Method
As the name implies, this method involves cutting the strip lights and connecting them using clips.
All you need to do is cut the strip at the designated cutting sections. Try to make a clean, straight cut so that you don’t damage the circuit.
Now, you attach the two strips using the connector before adhering them to the surface. Alternatively, you can install one strip and attach the connector. Then, connect the strip-connector combo to the uninstalled LED strip light.
Both sequences work fine. However, the latter method might be easier, especially for longer lengths.
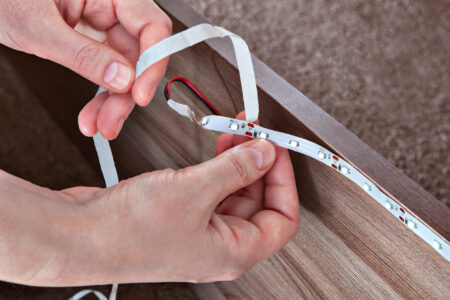
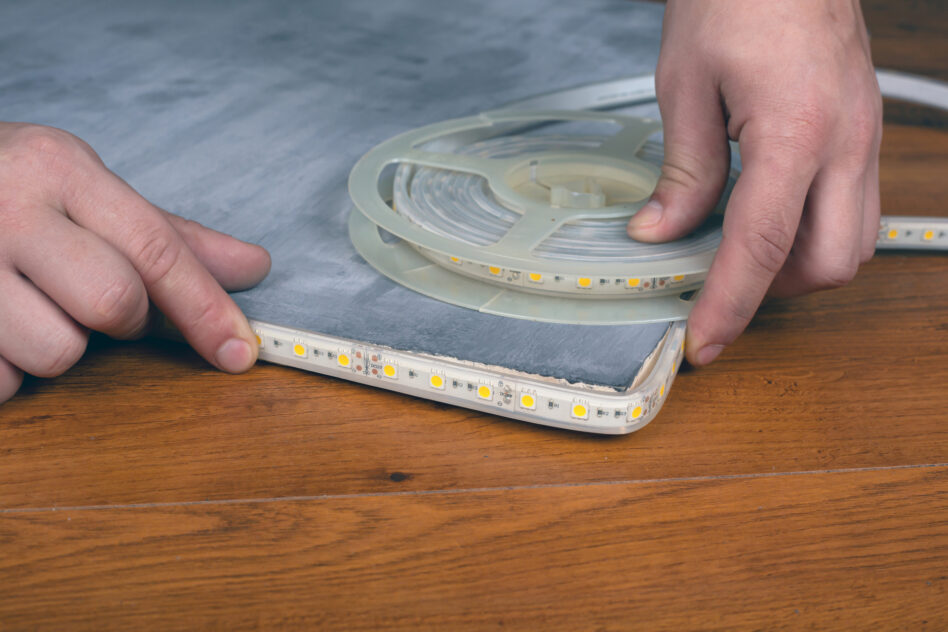
Step 5: Remove the Adhesive and Install the LED Strips
- Remove a small part of the adhesive backing.
- Press the strip firmly on the desired surface to secure it well.
- Slowly continue removing the adhesive backing while pressing on the strip to avoid trapping air bubbles.
- Attach the connector clip to the end of the installed strip to join it with the connector.
- Place a second clip on the connector.
- Remove the adhesive from the second strip and connect it to the clip.
- Continue removing the adhesive while pressing until you reach the desired length.
- Cut the strip to separate it from the roll.
Once your strip lights are well-secured, connect them to the power adaptor. Then, plug the device into an electric outlet to test the strips.