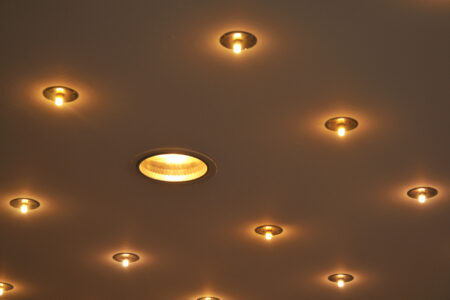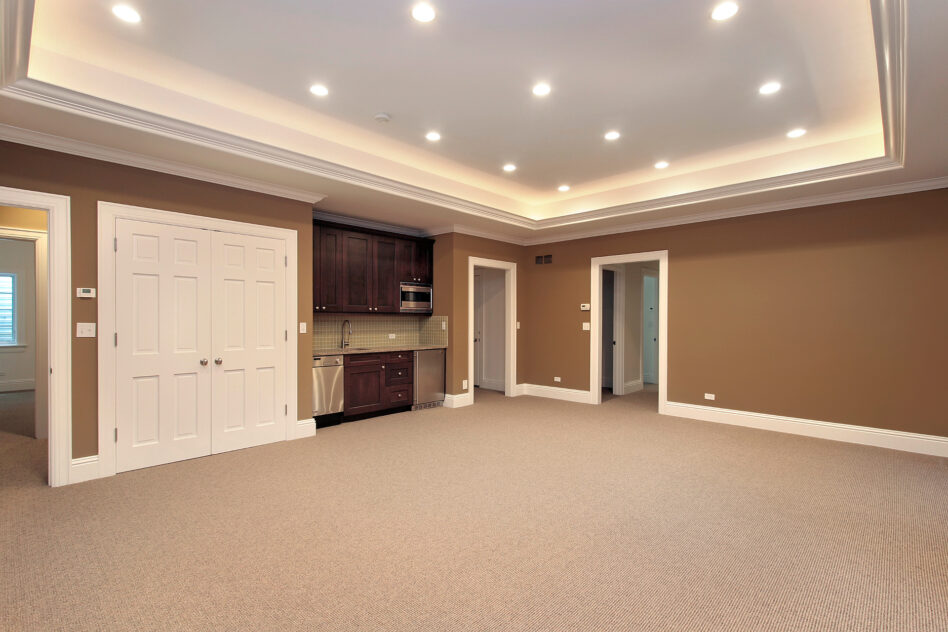
With the recent developments in the lighting industry, recessed lights are more powerful and take up a lot less space than they used to. Since LED recessed lights are usually easy to install, you may wonder if you can install them in your existing ceiling? Yes, you can! Read on to find step by step instructions.
Contents
How To Install Recessed Lights On Your Ceiling
If you have the right kind of ceiling, installing recessed lights on a roof is relatively straightforward. If you are comfortable doing the job yourself, the steps below will help you to install your recessed lights.
Plan Your Lighting
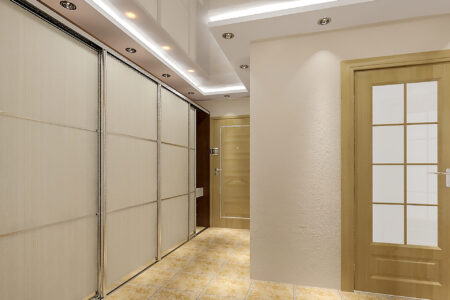
Before making holes in your drywall ceiling, it is essential to plan out how you want your lights to work. There are a few things you should probably consider about recessed lights, including the fact that they often run along the walls of a room and are not found in the middle of the ceiling.
Finding where the roof supports are can also be beneficial since some recessed lights may need more space than others. Your lighting plan can also include other details, such as the color and size of the new lights you want to use.
Turn Off Your Power
After planning the layout of your lights, you need to put off your lights’ power to ensure you will be safe when continuing to the next steps. If you want to replace light fixtures already in your ceiling, putting off your power before you remove the fixtures is essential. However, it is also best to put the power off if you need to do extra wiring for the new lights.
Remove Any Previous Light Fixtures If Applicable
If you want to replace any lights in your ceiling with recessed lights completely, you need first to remove any light fixtures that are already in place. You can do this all at once if you can remember the wiring, or you can do this one at a time while replacing the fixtures with the new lights.
Mark The New Hole
Once you know where you want your new recessed light, if you do not already have a hole, you can use a drill to make a little hole in the area where you want the new light to be and ensure there are no supports or wires in the way.
Once you have marked the center of where your light should be, you can use the light to trace an outline of the light around the area to mark out the piece of your ceiling that you must remove for the light to fit.
Remove The Relevant Insulation
With the holes marked, before you start sawing your ceiling, you should remove any insulation in the area around where the new lights will be. If you can’t see the drill holes when you’re in the roof, you can push a pencil or other object through to raise the insulation in the areas you need to remove it.
If you do not remove the insulation around the area where your light will be, there is a chance that you can cause damage when making the holes. You may also struggle to make the holes if your saw or drill gets caught in the insulation.
Make The Necessary Holes
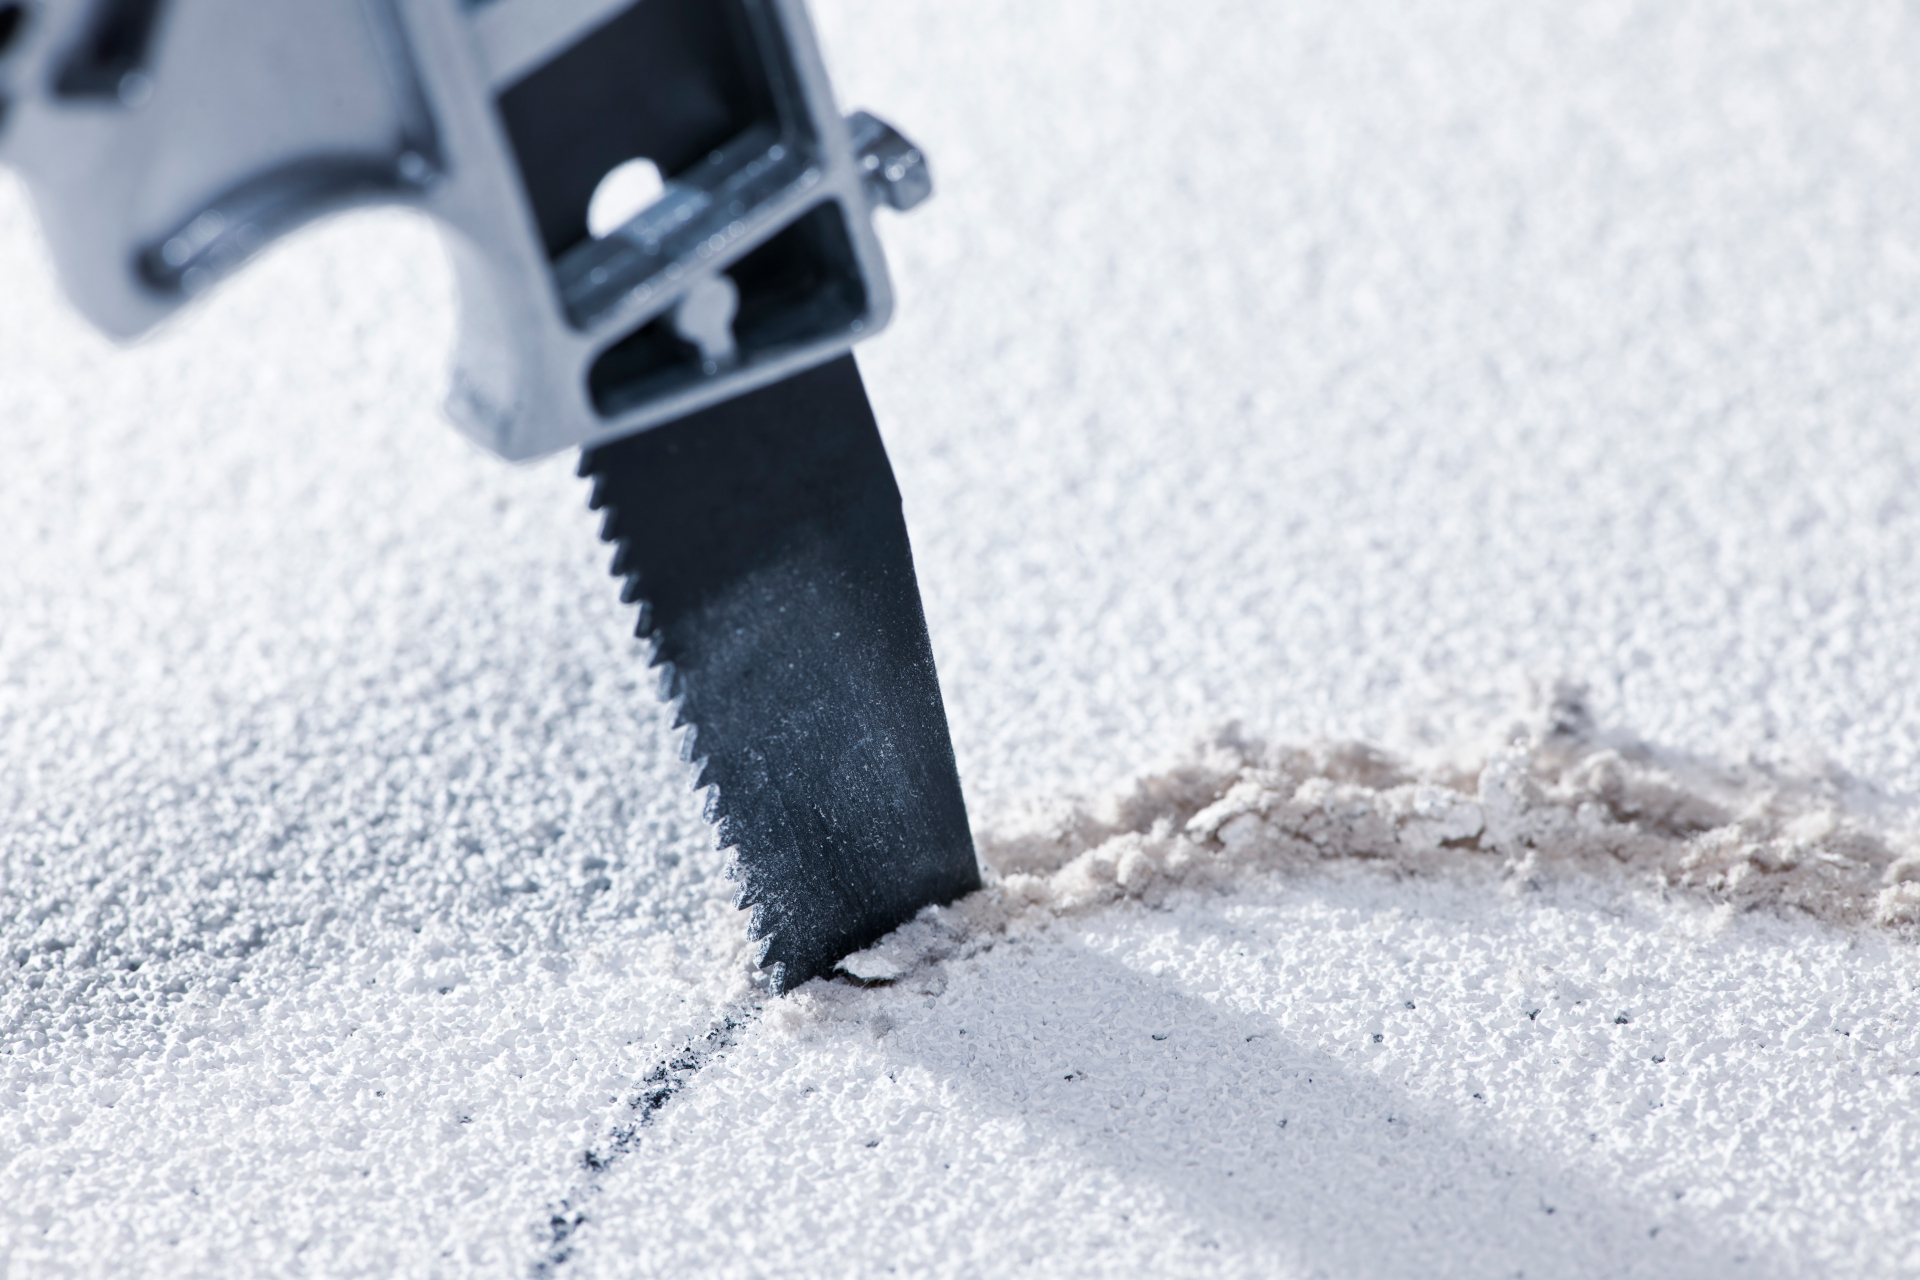
The next step is to start making the holes for the lights based on the outlines you drew earlier. You can use many tools, including a drill, saw, or electrical. If you have not got a device specializing in these jobs, the saw can still help you, though it may be a bit more tricky.
To easily cut the suitable holes using a saw, you can use the hole you drilled before or another one that connects to the first. Once the holes are drilled big enough for the tip of the saw to enter, you can start cutting toward the edge of the marked area.
If the hole shape you need is circular, you can cut towards the marked edge with a slight curve until you reach the edge and can realign. However, if your required shape is square or rectangular, it may be best to cut straight toward the mark and make a slight turn before you reach it.
This allows you to adjust your angle and go along the marking. Alternatively, you can poke a drywall saw right into the outline with a soft enough ceiling.
Connect The Wires
If you don’t have the necessary wires already, you need to find the correct cables that lead to your light switch and add to these wires with enough points to connect to your recessed lights. If you do not know how to work with wires and electricity, this is definitely one of the steps where you should hire professional help.
Once the wires are in place, you can connect the relevant cables to the light fixtures that will go into your roof. You can join the cables once the lights are in place, but this may require you to head back into the ceiling.
You must look at the instructions of the light manufacturer to find out how you need to connect these wires; otherwise, the lights may not work as they should.
Install The Light
With the wires all connected, you can push them back into the ceiling and attach the light fixture to the ceiling. There are different ways to secure these fixtures to the roof; some types require screws, while others use spring-loaded mechanisms.
Once the lights are connected securely to the ceiling, you can turn on the power again and test to see that they are working. If the lights are not working, there may be an obvious mistake that you made, in which case it may be easy to repair. However, if you are uncertain of what went wrong, you should contact a professional for help.
Though you may get tempted to just quickly change some wiring for the lights if they do not work, it is essential to remember to switch off the power before starting.
Can You Install Recessed Lights In a Concrete Ceiling?
If you stay in a house, you likely have a drywall ceiling. However, not all homes are the same, and apartments may also be different in this way. Some ceilings, especially apartment ceilings, do not have drywall ceilings but ceilings made of concrete.
If this is the case, it is improbable that you can install recessed lights on the roof. If you feel there may be a way to install recessed lights in a concrete ceiling, it may be best to contact a professional for help before attempting anything yourself.