Installing landscape lighting is becoming much more straightforward than when it first appeared. Many landscape lighting kits come with all you need in a single box, but these are more focused on smaller gardens.
So, if you have a beautiful large garden, you may need to splice the wiring to get the lighting where you want them. In this guide we’ll show you how to splice your low-voltage landscape lighting wires.
Contents
- What To Consider Before Splicing Landscape Lighting Wires
- Splicing Low Voltage Landscape Lighting
- Shop Related Products
- Step 1: Turn Off The Power
- Step 2: Layout The Cable
- Step 3: Split The Cables
- Step 4: Strip The Wires
- Step 5: Heat-Shrink Placement
- Step 6: Connect The Wires
- Step 7: Solder Or Use Connectors
- Step 8: Apply The Waterproof Heat-Shrink
- Step 9: Test The connections
- Step 10: Bury The Wires
- Step 11: Enjoy The View
- Shop Related Products
What To Consider Before Splicing Landscape Lighting Wires
Adding extra lighting to your garden will enhance all its beautiful features and create a new visual dimension that your family can enjoy. But, many landscape lighting kits don’t offer enough cable for larger gardens or garden sections. So if you need a longer run of cable, splicing in an extra length will be required.
If you have already chosen the type of lights that will be used in the garden, then half the work is almost done, well not quite, but close! However, a few things must be considered before continuing with the splicing installation.
Keep Safety A Priority When Splicing Landscaping Lighting
Most landscape lighting will use 12 volts. If you think that 12-volt is not dangerous, sorry, you have been misinformed. Factoring in the extra moisture in a garden setting will increase the chance of an electrical shock. So please turn off and disconnect the power supply from the mains before working on the landscape wiring.
When splicing, you will need to use a soldering iron and a heat gun. The easiest way will be to use an extension to make the installation easier. Ensure the extension cord is rated to be used outside.
This guide is explicitly not for landscape lighting which uses 120 volts mains voltage. In this case you need to hire an electrician to do the work with all additional safety measures in place.

Splicing Landscape Lighting In Series Or Parallel
When splicing landscape lighting, there are two different ways to connect the wiring. You can connect the lights in a parallel or series circuit. Both have pros and cons, but the decision will be up to you. Let’s explore the differences:
Series Circuit
A series circuit is similar to a daisy chain you made as a kid. The lights are connected in a string similar to Christmas tree lights. The problem with this is that if one of the bulbs or lights is faulty, the whole string of lights will not work.
Every time a light is added to the string, it uses up more of the voltage, causing a voltage drop, and eventually, there is not enough voltage to make all the lights work. Series connections are acceptable for up to three lights with a short cable run.
Parallel Circuit
A parallel circuit will use more wire than a series connection, but this has benefits. In this connection, the current is shared between each light. So if one light is faulty, it will not affect any other lights on the circuit.
This also allows the voltage to stay the same for each light allowing for more lights to be connected on the circuit before a current drop occurs. Up to 8 lights or more can safely be wired in parallel.
Waterproofing The Landscape Lighting Connections
It is vital to waterproof the spliced connections on the wiring. This step will prolong the life of the connection and will prevent short-circuiting when the soil is waterlogged. Waterproofing should be done if the wiring is going to be buried and if it is installed above ground.
The best way to waterproof will be to use adhesive heat-shrink tubing. This tubing is available at any hardware store. Silicone or liquid electrical tape will work in a bind, but it will not last as long as the heat shrink.
To use heat shrink: simply slide a 1 to 1 ½ -inch piece of tubing over one side of the wire before connecting or soldering the wires. After soldering, slide the heat-shrink tubing over the connection and apply heat to the tube via a hair dryer or heat gun till it shrinks down onto the wiring.
Splicing Low Voltage Landscape Lighting
Now that you have decided on what type of connections you will use, it is time to gather the tools needed to splice the landscape light wiring.
The following tools and equipment will be needed:
- Electrical Wire Stripper
- Electrical Wire Cutter
- Wire Connectors / Soldering Iron and solder
- Heat-Shrink Tubing
- Hair dryer / Heat Gun
Now that you have all the tools follow the step-by-step guide to splice your landscape lighting. Remember: This guide is only for 12 volts low-voltage landscape lighting. For higher voltages you need to hire an electrician to do the work with all additional safety measures in place.
Step 1: Turn Off The Power
Switch the power off at the power supply for the lights. Unplugging the transformer will ensure no power flows through the cable while you work on them.
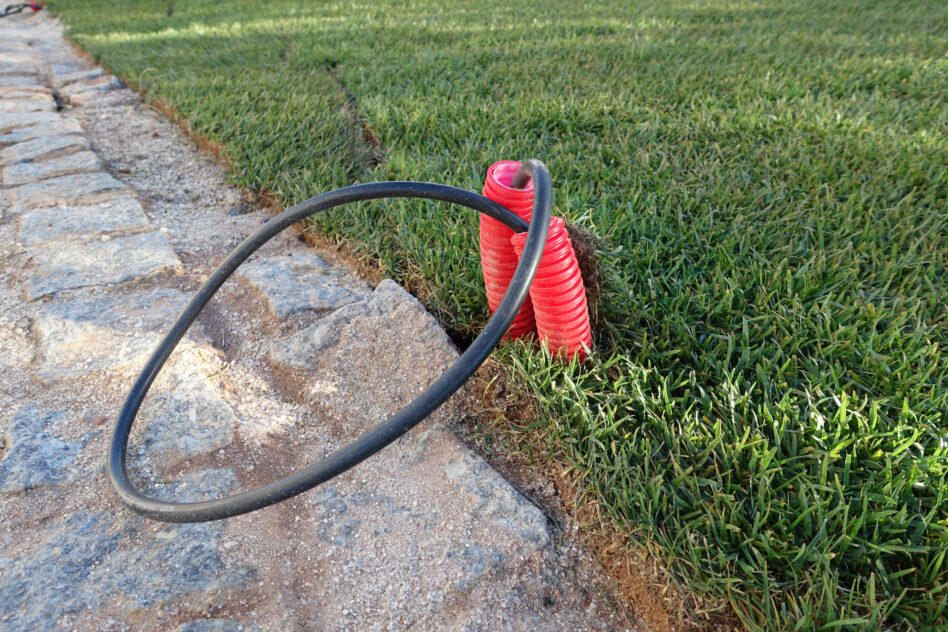
Step 2: Layout The Cable
Lay the cable in the precise layout you will be burying or fastening. This step will ensure that you have sufficient lengths of cable. Leave roughly 1-2 feet of excess cable on either end so there is extra slack cable if needed. The extra length will also make working on the ends much easier.
Step 3: Split The Cables
Split the two cables apart into a “Y” shape. The split should be about six inches in length.
Step 4: Strip The Wires
Take the wire strippers and strip a ½ inch off each of the wires. Keeping all the stripped lengths the same will make it much easier to splice.
Step 5: Heat-Shrink Placement
Place a 1-1 ½ inch piece of heat shrink over one side of the cable. Slide the heat-shrink down the cable so it is out of the way.
Step 6: Connect The Wires
Connect the wires that must be lengthened together. Place the exposed copper ends over each other and twist them together. Make sure that there is a good connection between the wires.
If the wires are color-coded they are polarity-sensitive. In this case take care of the wire polarity and only connect the wires according to their color.
Step 7: Solder Or Use Connectors
If you are using connectors, it is recommended to use DryConn black and grey connectors. Simply twist the connector over the connected wires. Give a slight tug to ensure a good connection.
If you prefer a soldering iron, apply solder to the exposed copper wire you have twisted together. Apply an even layer of solder, ensuring that there are no large blobs of solder, as this may affect the current.
Step 8: Apply The Waterproof Heat-Shrink
Slide the heat shrink over the soldered section or the connector. The heat shrink should cover all the exposed areas of the connection and at least ¼ inch onto the wire coating on each side.
Use a hair dryer or heat gun and apply the warm air to the heat shrink. Ensure that all the tubing has adhered to the cable to make a watertight seal.
Step 9: Test The connections
Once all the splices have been done and heat-shrink applied, plug the transformer back in and switch the landscape lights on. Check that the timer is set to “on.”
If all the lights turn on, you successfully spliced your landscape lights. If not, then retrace your steps to find the faulty connection.
Step 10: Bury The Wires
Once all the lights have been tested, and everything is working well, bury the cables in the ground, ensuring that no rocks are lying on top of the cable. Rock can damage or cut the cable if someone stands on top.
Step 11: Enjoy The View
Now it’s a great time to sit back and enjoy the lovely garden ambiance that you have created. May it bring you many hours of joy.