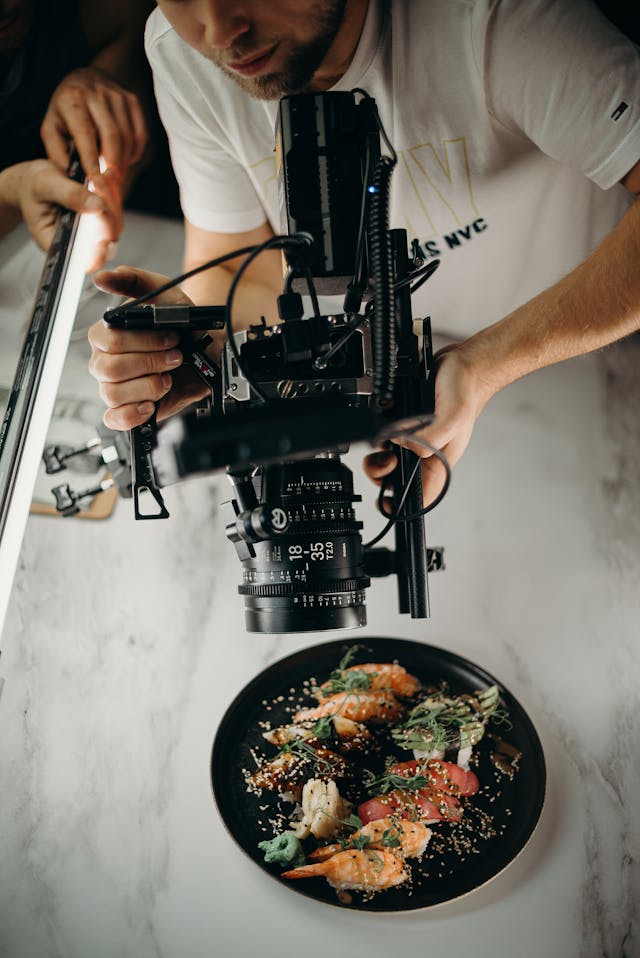
You can cook and plate your food like a professional chef, but your food images still resemble last night’s leftovers. What’s missing? A good food photography lighting setup. If food photography is done right, it can tell a story.
Sometimes I'll take a quick photo of my delicious looking meal with my phone, but often it doesn't look as good in the photo as it did in reality.
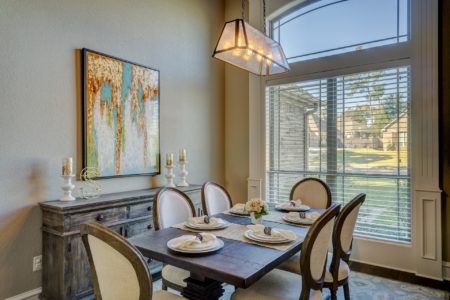
The main factors that contribute to storytelling for your brand are the use of natural and artificial lighting. For example, natural light indicates freshness, whereas artificial light emphasizes wholesomeness.
Whether you’re shooting pancakes for a blog, pizza for a client, or a steak just because it looks so damn good, your food photography lighting can make or break the shot. Lighting is not just about brightness — it’s about mood, color, texture, and making viewers want to lick their screen. Yes, lighting can be that powerful.
We’ll break down everything you need to know below — from choosing between food photography natural and food photography artificial light, to angles, diffusion, color temperature, and keeping your setup dead simple and budget-friendly. Now, grab your camera and let’s make your lasagne look legendary.
Natural Light vs Artificial Light
Let’s start with the big question: Should you go all natural or get technical?
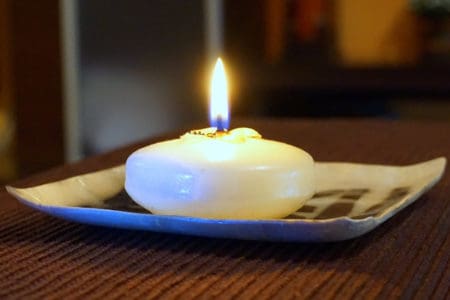
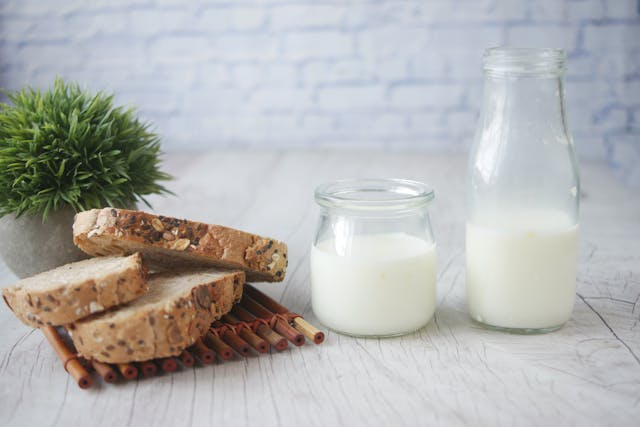
Natural Light
Natural light — as in the good old sun beaming through your kitchen window — is the go-to for beginners and even many pros. Why? It’s free, flattering, and gives your food that fresh, real-life appeal. Place your dish near a window, use a white curtain to diffuse the light, and boom — you’ve got yourself a cozy Instagram-ready photo.
| Pros of Natural Light | Cons of Natural Light |
|---|---|
| Soft and flattering | Inconsistent (clouds, time of day, seasons) |
| Enhances color naturally | Hard to control shadows |
| Ideal for daytime shoots | Limited flexibility in positioning |

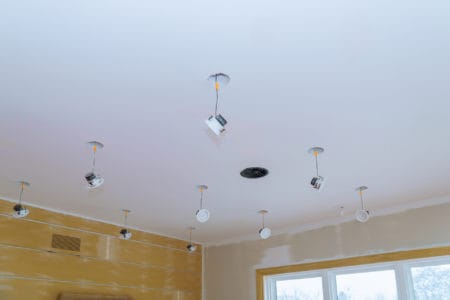
Artificial Light
When the sun’s down or your kitchen looks like a dungeon, artificial light steps in like a superhero with a softbox. LED panels, ring lights, and strobes — all let you control brightness, angle, and consistency.
| Pros of Artificial Light | Cons of Artificial Light |
|---|---|
| Total control over the scene | Can be expensive (though not always) |
| Reproducible results at any hour | Needs some know-how |
| Works great for low-light setups | Too harsh without proper diffusion |
Bottom line? Use natural light when it’s available and works for your shoot. But if you’re serious about consistent results — especially for client work or shooting at night — artificial lighting gives you full control.
Lighting Angles
1. Side Lighting
Lighting from the side (left or right) is the sweet spot. It brings out the texture in a croissant, the gloss on a sauce, or the fluffiness in a pancake. Side lighting adds drama without overpowering your subject.
Best for most foods, especially ones with strong textures like bread, meat, pasta. Pro Tip is to use a reflector opposite the light source to soften shadows and balance the exposure.
2. Backlighting
Backlighting is the light coming from behind your food, which is perfect for anything steamy, translucent, or shiny. Think beverages, soups, or glossy glazes. It adds a beautiful glow and makes your food pop.
Best for drinks, salads, dishes with liquids or sauces. Watch out for overexposure. Use diffusion and adjust your camera settings to keep highlights in check.
3. Front Lighting
Front lighting is direct and even — but it also flattens textures. Unless you’re going for a documentary or cookbook-style shot, it’s not the most flattering. Use sparingly. Best for minimalist setups, flat lays, or where you want a uniform look.
Front lighting is practical, predictable, and a bit boring. It lights up your subject uniformly from the front, which is good when you need every detail to be visible without shadowing. But the catch here is that it renders textures flat-out lifeless, making burgers look like cardboard props. However, there’s a use for it. Minimalist images, overhead shots, or flat lays benefit from front lighting’s clean look. You just need to use diffusion correctly. Also, keep the setup clean and neat so your picture looks effortless.
Diffusion Techniques
Harsh light makes your food look like it’s under a dentist’s lamp. Nobody wants that. This is where diffusion steps in.
The goal is to soften the light to reduce shadows and bring out natural tones.
DIY Diffusers – Budget Friendly
- White shower curtain over a window
- Parchment paper taped to a lamp
- White bedsheet or T-shirt over LED lights
These may not look pretty, but they work.
Professional Diffusion Gear
- Softboxes attach to studio lights for that cloud-like glow
- Umbrella reflectors are easy to use, great for beginners
- LED panels with diffusers are adjustable in intensity and provide clean light
Regardless of your weapon of choice, always diffuse unless you’re going for a specific edgy look.
Bonus tip is combining diffusion with reflectors, even a white foam board works to fill in shadows and keep the shot balanced.
Color Temperature
Lighting isn’t just about brightness, color matters too. Nothing screams “amateur” like a delicious lasagne that looks like it came from a Smurf village.
Your camera may view the world differently than your eyes do. What you see as a decent shot may end up as a bizarre blue or yellow disaster in the finished photo. Be sure to review your shots and use a grey card to assist in getting the white balance right in each picture. When you’re editing in RAW, which you should be, you’ll have much more leverage to adjust color temperature without ruining the photo. Also, keep in mind that reflective surfaces, such as metal utensils or glossy sauces, can reflect light in unpredictable directions, so your lighting temperature must remain consistent and intentional from beginning to end.
5000K–5500K
This range mimics daylight and keeps food colors accurate. It’s perfect for both natural and artificial setups.
Here’s how to control it.
- Look for LED lights with adjustable color temp called “bi-color” lights.
- Use camera white balance. Set it manually instead of relying on auto.
- Use colored filters that you place over lights to match or correct the temperature.
A common mistake is mixing light sources such as natural light, with a warm bulb equals disaster. Stick to one temperature to avoid weird tints.
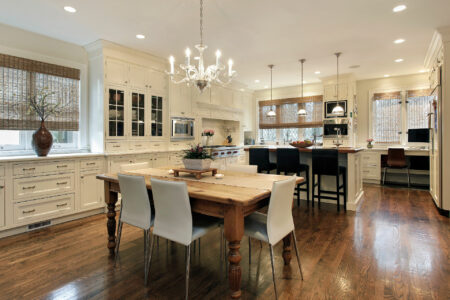
Setup Simplicity
You don’t need an expensive setup to shoot food like a pro. Some of the best food photographers started with lamps and cardboard reflectors.
Here’s a simple, effective starter kit.
Budget Setup
- Clamp light or LED panel (adjustable is best)
- White foam board or cardboard reflector
- Diffuser (curtain, parchment paper, softbox)
- Tripod (even a tabletop one)
- Backgrounds: Wooden boards, baking sheets, and cloth napkins
Arrangement Tips
- Light your subject from the side (or back, depending on the dish).
- Place the reflector opposite the light to soften shadows.
- Use a neutral or textured background to complement the dish.
Keep It Mobile
If you’re shooting in different rooms (or different houses), keep your gear light and portable. Foldable reflectors, compact LED panels, and collapsible backgrounds are your best friends.
A Word on Lightboxes – Handy or Hype?
A food photography lightbox is basically a mini studio in a box — white walls, built-in lighting, often foldable. They’re great for product-style food shots (like cupcakes, cookies, or food packaging) but can be limiting for more artistic or lifestyle shots.
Use a lightbox if you shoot small items and need consistent lighting with minimal setup. Perfect if you sell baked goods online or need catalog-style photos.
Skip it if you want creative freedom with angles and props. Also, if you shoot larger dishes or meals this may not be the best idea. But still, for under $50, it’s a solid addition to your toolkit.
Wrapping Up
Good food photography does not mean owning a fancy camera, but rather, it’s about using light like a pro. Whether you’re shooting in the sunlight or with a budget LED light, knowing about angles, diffusion, and color temperature can make your images go from “decent” to “mouth-watering.”
Use food photography natural light when available; go for food photography artificial light when you need control. Pick your lighting angle based on the food’s texture and shine. Always diffuse harsh light unless you’re going for a harsh look. Stick to 5000K–5500K color temp to keep colors accurate and start with simple, affordable gear, and build from there.
So next time you’re about to shoot that perfectly stacked burger, remember: don’t just take a photo — light it like you mean it.