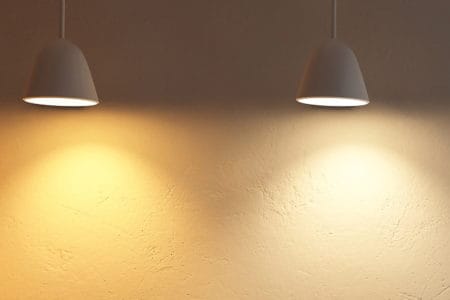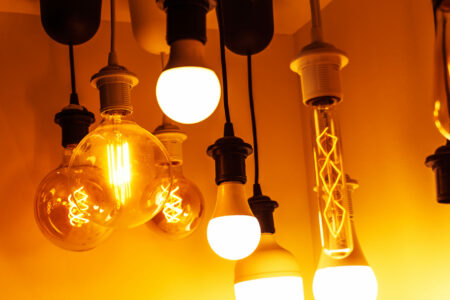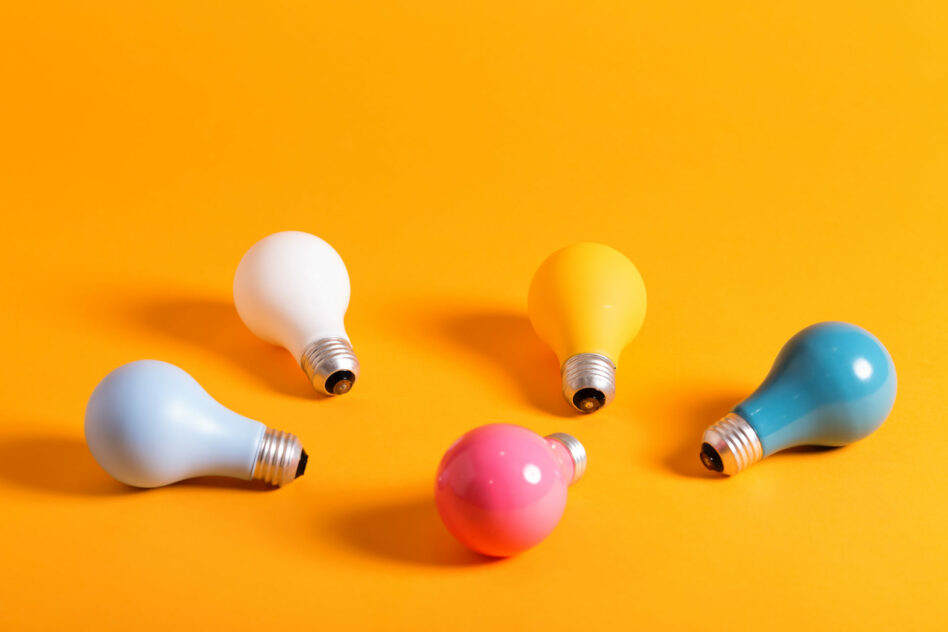
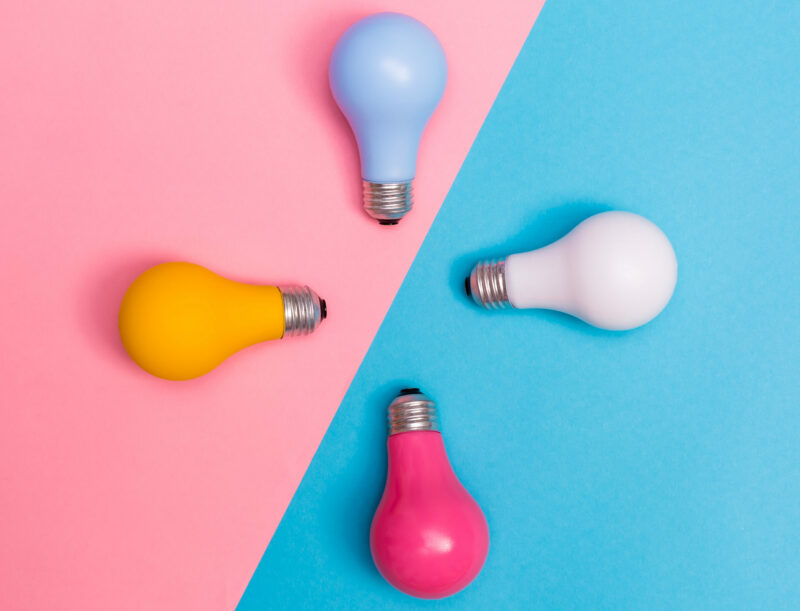
LED or incandescent light bulbs add a warm glow to our rooms! We can even paint and coat a set of bulbs in different colors, or we can add beautiful and interesting designs. But is it even a good idea to paint your LED or incandescent light bulbs?
Paint your light bulbs at your own risk: Painting LED or incandescent light bulbs are hazardous. They produce heat and can blow-up! The surface of the bulb acts as a heat dissipation device which is impaired by the color paint. Only paint low-wattage bulbs of 40 watts maximum and only use the painted bulbs under observation.
Contents
How To Paint Light Bulbs
Always keep in mind that heat is an enemy of LEDs and incandescent light bulbs. By painting them, you allow excess heat to accumulate. Therefore, these bulbs will dim and have a shorter lifespan. Nonetheless, it’s still permissible to paint them.
For example, you should use heat-resistant paint when painting LED or incandescent light bulbs. Furthermore, you should also avoid flammable products like nail varnish and oil paint.
To have more information on how to paint LED or incandescent light bulbs, keep on scrolling!
What You’ll Need
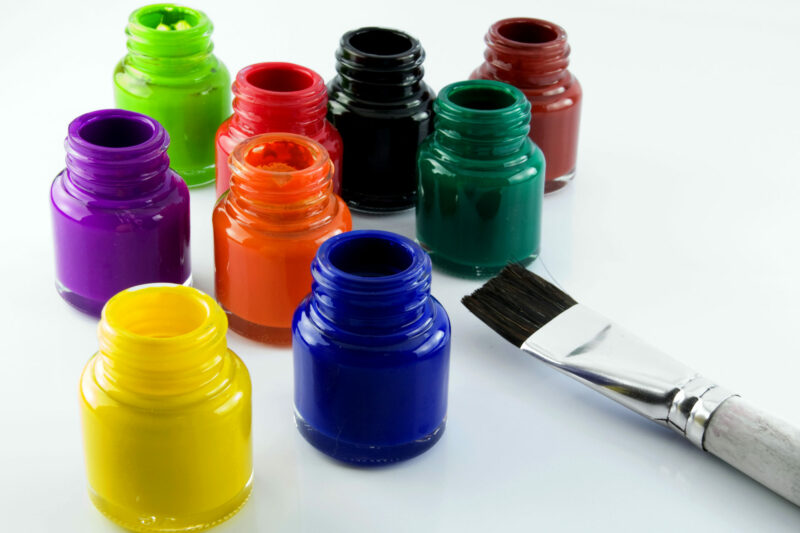
- Glass light bulbs
- Glass paint
- Various sizes of paint brushes
- A palette or small cups to keep your paints in while you work.
- Protective gloves.
Steps For Painting LED/Incandescent Light Bulbs
First, you’ll want to make sure your paint can withstand the heat produced by the bulb once it’s turned on. Hence, you should select a clear, 40-watt incandescent light bulb or an equivalent LED bulb.
Second, look for glass paint or specially designed paint. Heat-resistant glass paint is a must because regular paint on hot glass can cause it to explode. Furthermore, a clean surface is necessary for the paint to adhere well to your bulb. Hence, use rubbing alcohol for cleaning before you start painting!

Third, use a blue tack, or sticky tack, to keep your light bulb from rolling around while you paint. In addition let your bulb dry on the tack for 1 hour. Touch the bulb only when it’s completely dry.
Don’t put your bulbs in then oven! Some instructions may ask you to heat-cure your light bulbs in the oven. This is not a good idea especially for LED bulbs as they contain electronic and plastic components which are not applicable for high temperatures. Just wait until the paint cures at room temperature.
How Do You Create a Luminous Effect With Paint?
Acrylic paints are the best formulas for creating glowing effects. They’re more elastic and chemically based. Therefore, they expand and contract more than latex paints.
Step 1: Make Use of a Paintbrush and Raw Acrylic Paint
If you’re working on a candle flame, use a paintbrush and raw umber acrylic paint to create the design. You can make the flame any size you want as long as the bottom of the flame is wide enough to encompass the candle’s wick. Moreover, ensure that the top of the flame tampers to a point.
Step 2: Apply a Coat of White Acrylic Paint
Apply some white acrylic paint from the top of the wick’s flame area to its tip. Touch and blend the white paint into the raw umber color with the brush’s tip. It’s also best not to overheat the wick.
Afterwards, leave a raw ochre outline around the flame which you will emphasize later on.
Step 3: Dip a Dry Brush into Pale Yellow Acrylic Paint
Soak the brush into the yellow acrylic paint—about a third to a quarter of the way down its length. After which, load the brush’s tip with a small amount of paint and apply the formula over the white on the flame.
The yellow color should streak through the white, allowing some white hue to show through. Wipe the brush with a cloth between strokes before dabbing it in the paint again. Finally, using the yellow paint, paint until it streaks through the entire white paint.
Step 4: Dab the Brush’s Tip in Blue Acrylic Paint
Smudge the tip of the brush in blue acrylic paint to load it. Then, run the blue formula around the bottom of the flame. After applying the hue, wipe the brush with a cloth. Afterward, stroke the blue color into the bottom of the flame.
Blend the blue coat into the other base colors. It’s best to leave a small amount of blue around the bottom of the flame’s edge.
Step 5: Fill the Tip with a Pale Yellow Color
Fill in the tip with a pale yellow color and track the form of the flame with a dry brush. Consider adding a quarter-inch to the flame’s edges or sides. Paint small streaks on the sides of the flame from the top to where the flame’s base widens.
Before going over the glow streaks, wipe the brush clean with a cloth. To blend the yellow hue into the background, concentrate on the outside of the flame. However, ensure that the background can be visible through the streaks.
Keep stroking the yellow streaks until the yellow is visible but not opaque in the painting.
Safety Precautions For Painting Light Bulbs
Use a light touch with your paint brushes to avoid breaking the bulbs as you work too.
Finally, for painting light bulbs, you should only use glass paint. Other paints, when heated, may cause a fire hazard or emit harmful fumes. Use the correct LED or incandescent light bulbs for lighting fixtures. Using a wattage that’s too high for a lamp can cause a fire.
Don’t put your bulbs in then oven! Some instructions may ask you to heat-cure your light bulbs in the oven. This is not a good idea especially for LED bulbs as they contain electronic and plastic components which are not applicable for high temperatures. Just wait until the paint cures at room temperature.
FAQs
Can I use a sharpie to paint a light bulb?
It’s acceptable to use a Sharpie to decorate your light bulb. The product is water-resistant, heat-resistant (to 500°F), and fade-resistant.
For coloring bulbs, sharpies are the best option. These light bulbs respond best to Sharpies. Permanent ink will not be bothering you because you can always remove inks with alcohol.
Is it possible to change the color of my light bulb by painting it?
To completely change the colors, you can make custom-painted light bulbs! First off, get some clear 40-watt light bulbs, and heat-resistant glass paint. Apply your desired paint color on the light bulb and experiment around with it to see how it’ll look!
If desired, first paint the field color you prefer onto the light bulb. Afterward, start brushing on the other shades. Allow several hours for the spray paint to cool.
Is it risky to paint a light bulb?
Paint your light bulbs at your own risk: Painting LED or incandescent light bulbs are hazardous. They produce heat and can blow-up! The surface of the bulb acts as a heat dissipation device which is impaired by the color paint. Only paint low-wattage bulbs of 40 watts maximum and only use the painted bulbs under observation.