Do your fluorescent bulbs need replacing? Perhaps one is dead, or maybe you were busy in the kitchen, and suddenly there’s a flash of light, and boom, darkness! You look up at the ceiling, staring at the long fluorescent light, and wonder, what now? After all, how hard can it be to change a bulb?
It can feel quite intimidating if you don’t have replaced a fluorescent tube before. But the task at hand looks more difficult than it is. Follow our detailed guide to replace your kitchen’s fluorescent lighting to avoid making costly mistakes. With a few steps to follow and some tools and you will soon feel like a pro.
Contents
How To Replace A Fluorescent Bulb In Your Kitchen
Changing a fluorescent bulb is not much different from changing any other bulb. A few extra steps make it seem more complicated, but it’s pretty simple.
Gather The Tools You’ll Need
No need for fancy electrician tools! Most of the tools you need will likely be in your home already, but you may need to buy one or two things.
To make your life easy and avoid running to the hardware store halfway through changing the bulb, ensure you have everything on hand before you begin.
Here’s what you’ll need:
- A stepladder or ladder to reaching the ceiling
- Protective eyewear
- Protective gloves
- Screwdriver set
- The new bulb
- Tape measure and phone (if you don’t know what bulb you need)
Ensure All Switches Are Turned Off
Always ensure the power is off whenever you replace a bulb. Turn off the power to the kitchen at the circuit breaker and the wall switch.
To ensure there’s no electricity running to the lights, flip the wall switch back on and see if the lights go on.
Remove The Panel Covering The Fluorescent Bulbs
Put on your gloves and eyewear to remove the light cover. If your ceiling is high or your ladder is a bit wobbly, ask someone to hold the ladder in place. Most fluorescent bulb covers are made of plastic that clips into place on the outside of the light fixture.
Place your hands evenly in the center of the cover for the best grip. All that remains to be done is remove the cover, push it towards the ceiling and then push the cover to one side. This manoeuver will release the clip on that side.
You will feel the cover slip from the clips. Once you feel the cover slip out, hold it tight and slide it down. Do it slowly to prevent anything that comes loose from falling out and breaking. Step down from the ladder and place the now-removed panel aside.
Remove The Fluorescent Bulb
You are now ready to remove the faulty or old fluorescent bulb. If you’re unsure of which bulb needs replacing, you can switch the power back on to have a closer look.
While dark ends on the tube are often a good indicator of a faulty bulb, it is not always that simple. Many bulbs that look darkened work perfectly fine. Therefore it is best to test the lights. Just remember to switch the power back off after that!
Time to get back on the ladder. Grab one of the now-exposed lights with both hands. Spread your hands along the length of the light for a sturdy grip.
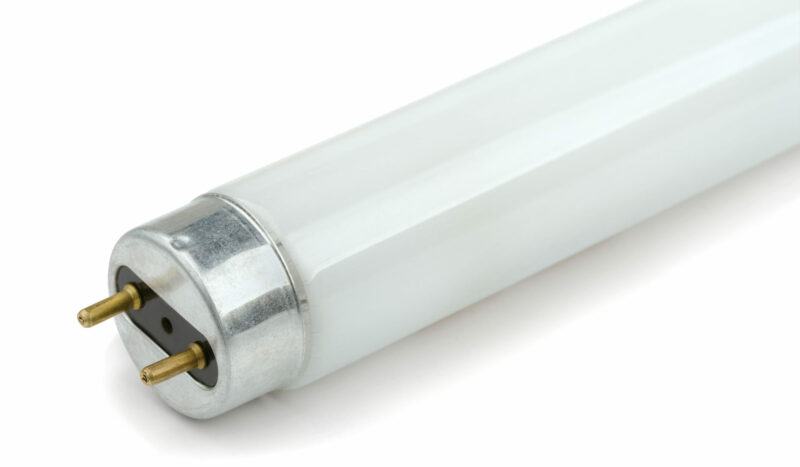
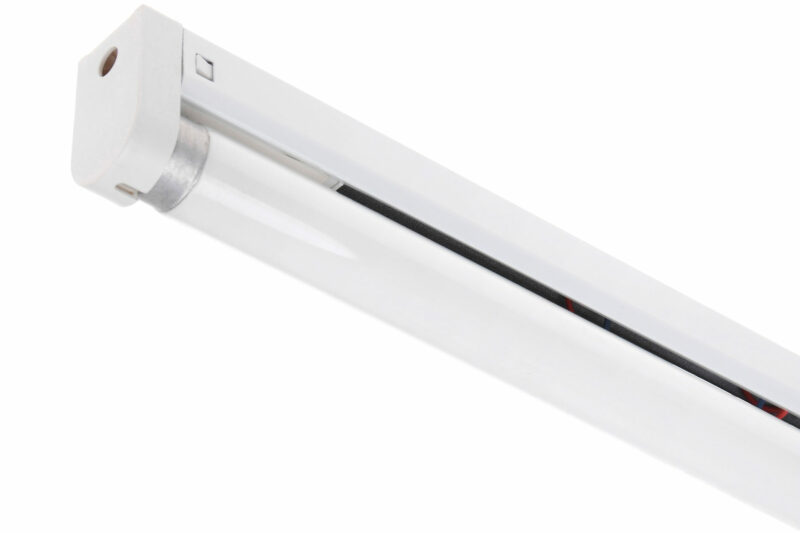
Fluorescent tubes have two prongs that slide and rotate into the lighting fixture. Slightly push the bulb up and turn it 90 degrees to release the prongs. Now slightly pull down, and the bulb will come out easily.
Replace The Fluorescent Bulb With A New One
Now that the lights have been removed, it is time to add the new ones. If you don’t have a replacement bulb yet because you were uncertain what bulb you needed, now is the time to buy one.
The simplest way to ensure you get the right bulb is to take a picture of the description of the old bulb. If the length of the bulb is not visible in the description, grab your measuring tape and measure it.
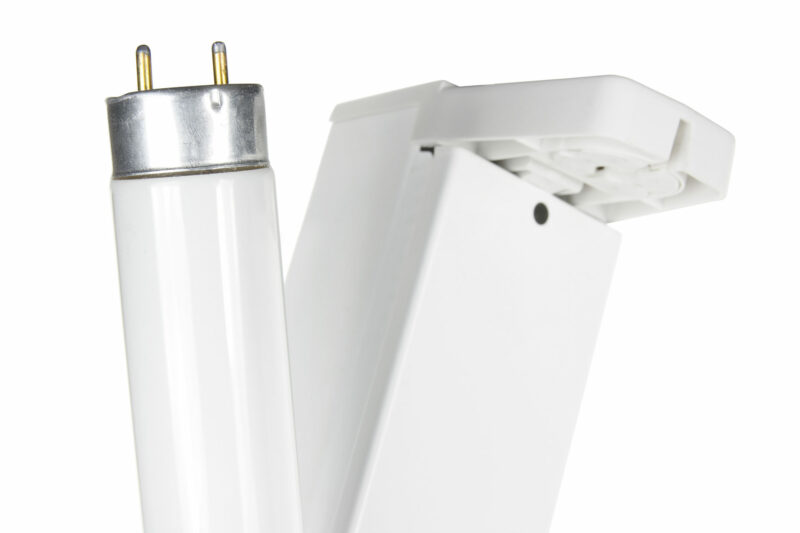
Grab the replacement light with both hands like you did when removing the old light. Make sure the prongs are vertical, slide the bulb in, and rotate it 90 degrees, so the prongs are horizontal. Don’t turn it too tight; only turn it until you feel it is secured.
Re-Attach The Lighting Cover
Before adding the cover panel, turn the power back on to see if the light is working. Once you have confirmed that the light is working, grab the light cover, place it over the light and clip it in place.
Well done! You know how to change a fluorescent bulb!