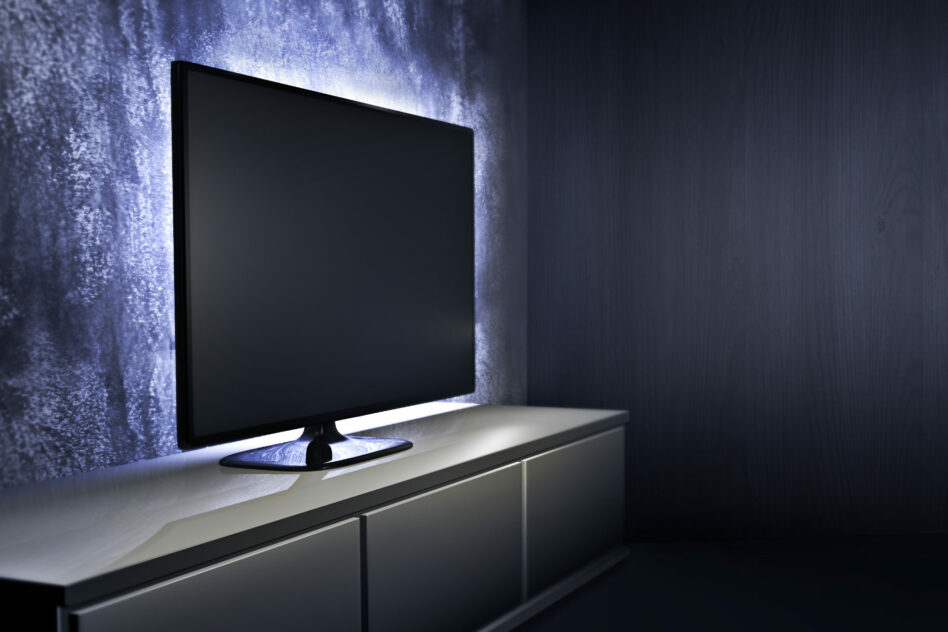
If you’re constantly fidgeting with your TV’s brightness and contrast settings and can’t seem to get the perfect picture at night, it can be due to your room’s lighting. Installing LED lights behind your TV can improve your viewing pleasure tenfold.
Many people suffer from eye strain when focusing on a bright light with a dark background, as eyes are constantly adjusting to focus on the smaller bright light source. Installing LED lights on the back of your TV will lessen eye strain, headaches, and fatigue. On top of these health benefits, it looks amazing when done right.
Contents
Types Of LED Lights To Put Behind Your TV
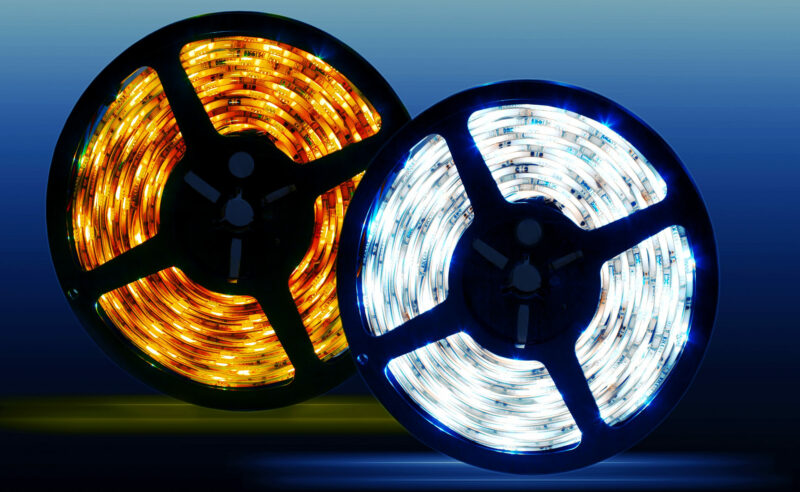
You don’t have to be a qualified electrician or electrical engineer to install LED lights behind your TV. Popular lighting choices include LED strip lights and LED light bars, with either you’re well on your way to creating a spectacular ambiance in your TV room.
Opting for LED light bars is becoming a more popular choice among ambient lighting consumers since it’s a more mobile choice compared to LED strip lights stuck on the back of your TV.
The fact that you can move the LED bars around to positions that optimize backlighting, and attach them to the back of the TV (product dependent), is an attractive option for DIY ambient light creators.
Many people prefer to attach LED strip lights on the backside of the TV (out of sight), while others prefer to make it part of the decor and place it on the wall or wall piece behind the TV.
Which way you lean regarding the type of LED lights will come down to personal choice. Led strip lights produce light coverage that’s consistent and optimal, whereas LED light bars can fail to light up the whole area behind the TV when placed on the sides or below a wall-hanging TV.
What You’ll Need And How To Put LED Lights Behind Your TV
The popular LED back-of-the-TV lights installation can be done quickly and effectively with the right products and tools. When purchasing LED strip lights, ensure USB compatibility with your TV. Remote-controlled or device (app) operated LED strip lights are the most convenient.
Here’s a list of what you need when putting LED strip lights behind your TV:
- LED strip lights (pre-cut) set (Purchase a kit that features a mini-controller, a remote, a USB power plug, 3M self-adhesive backing tape, 4 individual strip lights, and 3 connector cables)
- Or a LED strip lights (cut-to-size) set
- Or a set of LED bars
- Masking tape
- Measuring tape
- Scissors
- Lint-free cotton cloth
Step 1: Take The Measurements Of Your TV
The easiest way to figure out the required length of the LED strip lights is to take masking tape and tape the specific areas on the back of the TV you want to cover with LED lights.
When taking measurements and applying the LED lights, ensure that you place your TV set face-down on a soft surface, your bed being the ideal place. Throwing a soft blanket on a carpet will also do the trick.
Measure each masking tape piece (each side), and remember that you will use 3 connector cables in the corners when purchasing a LED kit with pre-cut individual strips.
It’s recommended that you place the masking tape strips a couple of inches from the TV’s outer edge, as it gives you more wiggle room during the application process.
Most LED strip lights can be cut to fit or come pre-cut in a certain length. The pre-cut LED strip lights are easier to install than the strips that need to be cut to size before being fitted into corner connectors.
Typically, you will need the following:
- 32″ TV (4 sides covered): 6.5 ft of LED strip lights
- 43″ TV (4 sides covered): 9 ft of LED strip lights
- 65″ TV (4 sides covered): 14-16 ft of LED strip lights
- 70″ to 82″ TV (4 sides covered): 18-20 ft of LED strip lights
- 82″ to 95″ TV (4 sides covered): 21-23 ft of LED strip lights
It’s your choice if you want to put an LED strip on each side of the TV. Three light strips will do the job just as well.
If you buy a continuous strip of LED lights, ensure that the kit contains at least 4 corner connectors and the right amount of connector clips.
Corner connectors are perfect for those who want to install the LED lights as neatly as possible or for those who don’t want to loop the LED strip lights in the corners.
Step 2: Clean The TV Surface
When you’ve chosen the LED strip lights of your choice, it’s important to clean the surface of the TV before sticking the lights on.
Take a damp cotton lint-free cloth and give the back of the TV a thorough wipe, ensuring that any dust and grime are removed.
Cleaning the TV surface enhances the adhesion of the self-adhesive tape underneath the LED lights.
Step 3: Attach The LED Lights To The Back Of Your TV
Time to attach the LED lights behind your TV set. Let’s discuss four methods depending on the type of LED lighting you purchased. Remember to start in the spot where your first strip light piece can reach the USB port when hooked up to the mini-controller and supporting USB fitting.
Testing to see if the power connection will reach the start of your first piece of strip light before you start sticking the lights in place is an excellent idea. Add the connector to the first piece of the light strip and plug it into the TV to make double sure.
Attaching Pre-Cut LED Strip Lights
The process is easy if you’ve gone with pre-cut LED light strips. The 4 individual strips could be packaged as one strip, so be careful when you remove them from each other. The best way to start is to do a dry run.
Take the LED strip light accessories and place them on a workspace. Connect the 4 individual light strips with the 3-connector cables that act as corner connectors. It should resemble a rectangle when done correctly.
The pre-cut LED strips should easily fit into the connector cables. Follow the LED manufacturer’s instructions if you’re having an issue connecting them. Align the LED strip light conductors with similar markings on the connector cables.
Lay down the attached light strips and connector cables on the back of the TV. It should be the size you measured before or very close to if you purchased a product according to your measuring estimates.
If everything looks as if it fits accordingly, it’s time to attach the lights to the TV. Remove the bottom sleeve to expose the self-adhesive tape and stick the strips on the appropriate sides of the TV, doing one at a time.
When all the strips are in place, it’s time to hook up the power source and test the remote functionalities.
Alternatively, you can stick one piece down before connecting it to the corner cable before moving on to the next piece, connecting each piece systematically as you make your way around the TV.
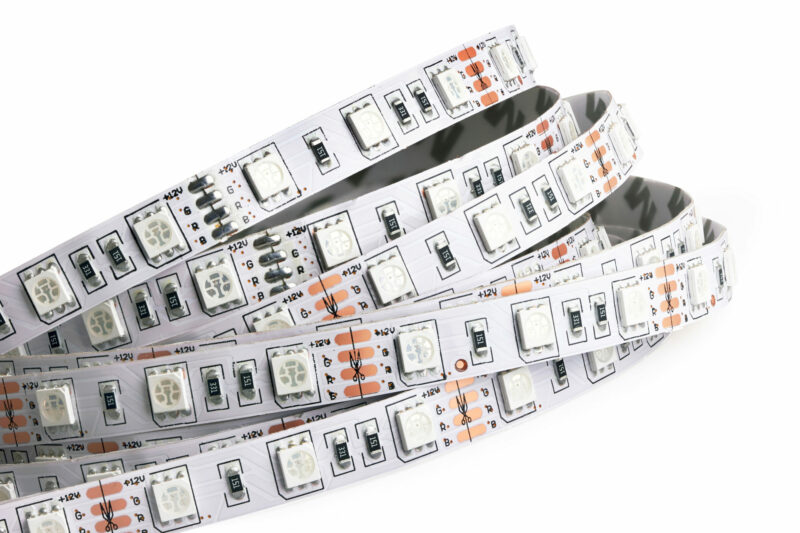
Attaching LED Strip Lights That Needs To Be Cut To Size
If you buy a continuous strip of LED lights that need to be cut to size, ensure that the kit contains at least 4 corner connectors and the right amount of connector clips. Corner connectors connect two pieces of cut strip lights where the corner needs to be.
When not looping the strip lights in the corners, it may take longer to install the LED lights. However, it does reduce the risk of damage to the strip lights due to bending and creasing.
Some LED light products have the mini-controller and USB attached to the beginning part of the strip of lights for ease of use when setting up. If your LED set works like this, insert the power connection, and ensure that it reaches the starting point of the LED strip lights.
Always start on the side where the power source will be inserted into the TV (usually on the right-hand side), and measure the first strip from the bottom of the TV to the top corner, where it will be attached to the corner connector.
When you’re happy with the length, you need to cut the strip lights at a designated cutting point closest to your preferred length. Some LED light manufacturers will indicate these areas on the strip, and some will even include a picture of scissors for you to follow when cutting through the strip.
When cutting through the LED strip, the idea is to have two parts with equally sized conductors on each side of the cut strip. These light strip pieces must be attached to the conductors found on the corner connectors before being securely clamped with connector clips.
Remove the bottom film to expose the self-adhesive tape and stick one piece at a time until all the pieces on all sides are attached to the TV and relevant corner connectors. Hook up the power supply, and test the remote functionalities before returning the TV to its stand or wall apparatus.
Attaching LED Strip Lights Using The Loop-In-The-Corner Method
This method is for you if you’ve purchased a solid string of LED lights and don’t have the time or patience to cut it to size and use the appropriate corner connectors.
The application method involves folding the LED strip lights into 90° loops in the corners, only cutting the LED string lights when your TV is fully covered in a rectangle.
With this method, you don’t want to make the corner loops too tight as it can damage the lights and also affect the adhesion of the lights in the long run, as it will put unnecessary tension on the rest of the attached strips.
With the corner loop method, you stand to lose 4 to 5″ of LED lighting per loop, so be sure to factor in the loss when calculating how much LED strip light you require for your TV.
To make a loop, you take the strip past the preferred maximum adhesion point, curl it down, and across to where it needs to go next.
When done sticking the lights to the TV, you should have three corner loops if you went for a rectangular application, ending where you cut it on, completing the bottom horizontal line. Hook up the power supply, and test if all is in order.
Attaching LED Bars To The Back Of Your TV
LED bars are the lighting type that’s the least labor-intensive of all LED lighting installations. If your TV is situated on a stand, it’s basically a matter of connecting the power source and placing them at the back of the TV or even next to it.
Turning the LED bars around to face the wall will create a similar effect to LED lights attached to the back of your TV.
Yes, the effect may not be as dramatic as four rows of LED strip lights at the back of the TV, but it does create ambient lighting that solves your problem of watching TV in the dark.
If you prefer that the LED lighting emanates from behind your TV, then opt for LED bars that can be mounted on the back of your TV. LED bars offer outstanding features, such as the following:
- Music synchronization
- A multitude of preset modes
- Millions of RGBIC color options
- Alexa and Google Assistant functionality
- Scheduled optimization